Creating your MYP E-Portfolio
Getting Started:
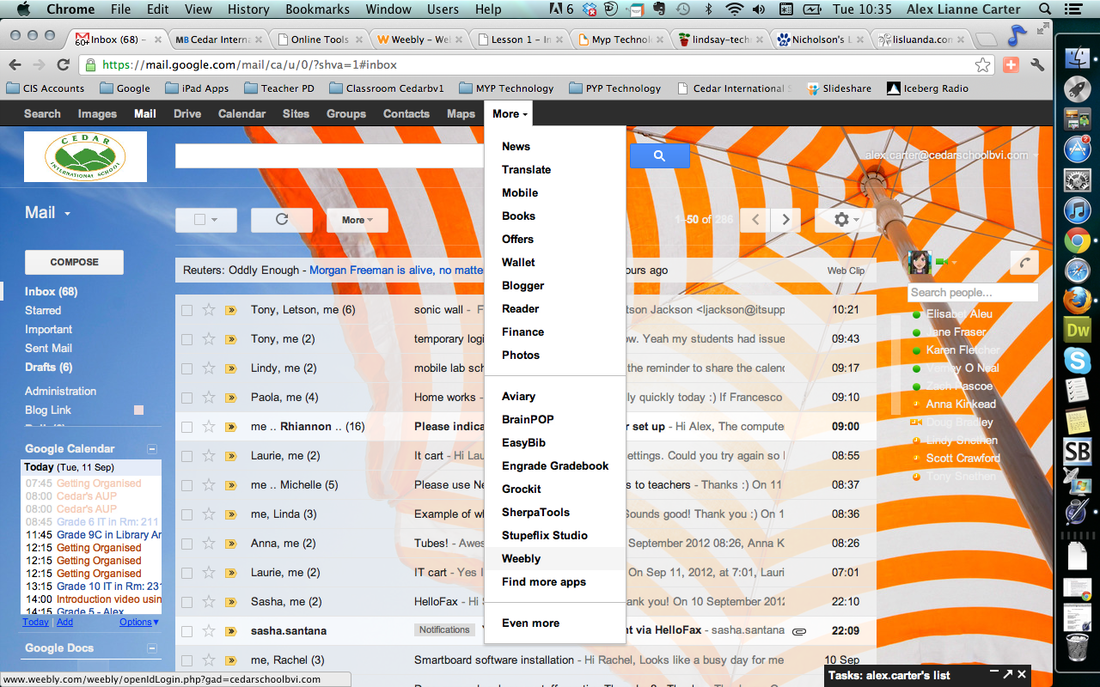
Step 1: Find Weebly
In Google Apps, click on "More" and scroll all the way down to "Weebly"
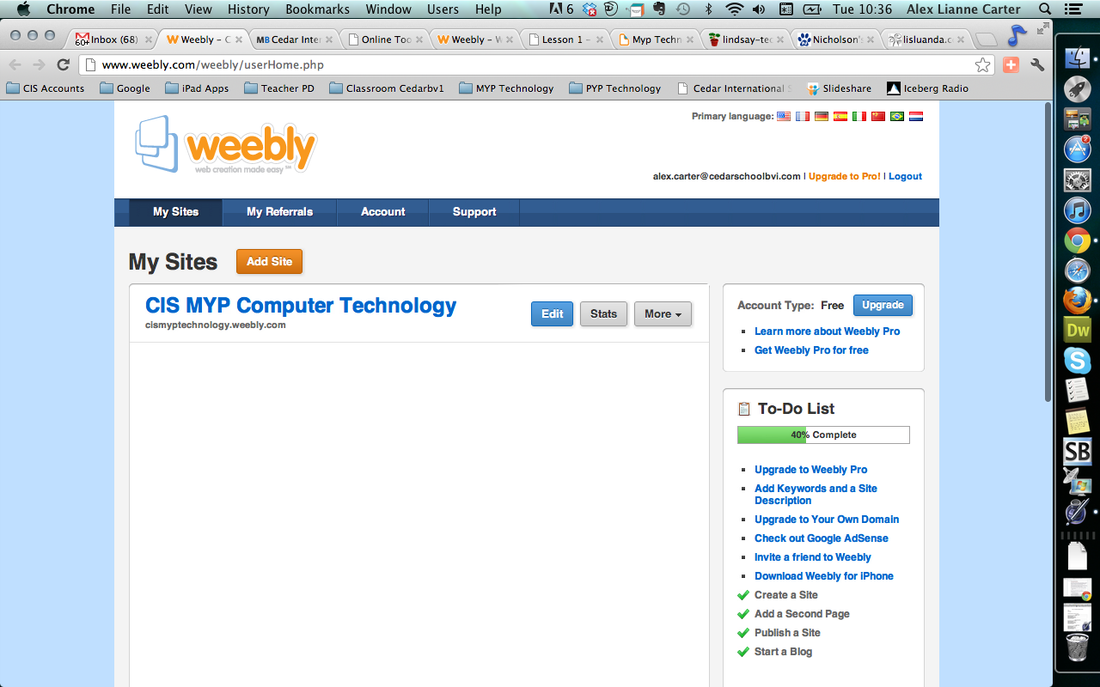
Step 2: Create your site
Add Site
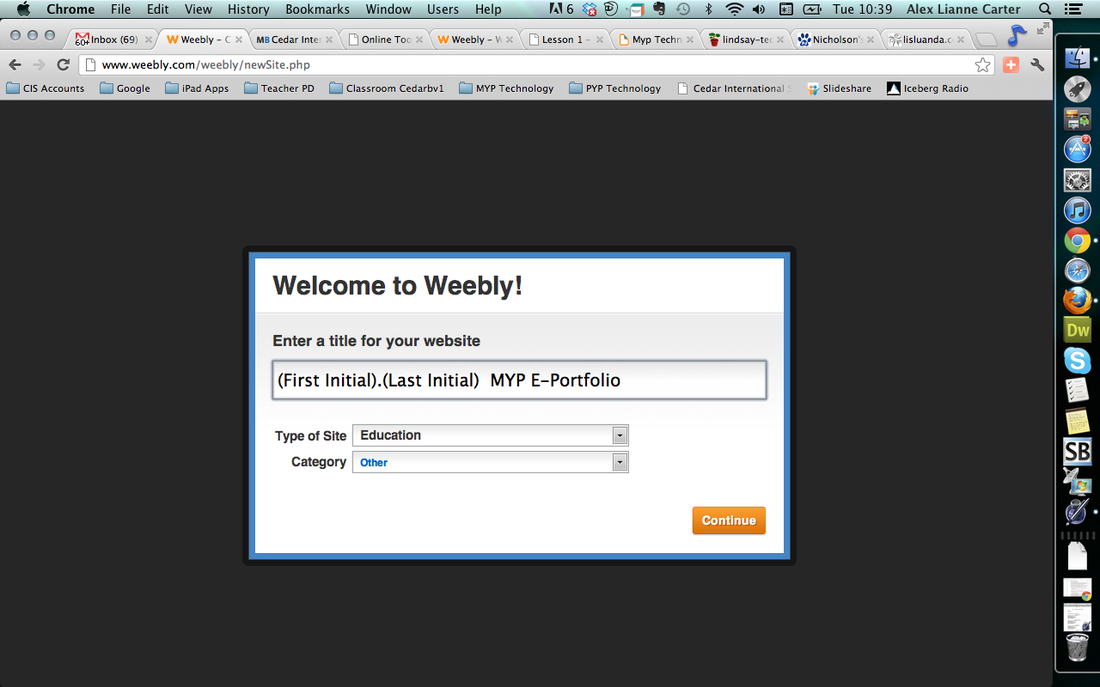
Step 3: Enter a title for your site
(firstinitial).(lastnnameinitial) MYP E-Portfolio
For example: A.C. MYP E-Portfolio
For example: A.C. MYP E-Portfolio
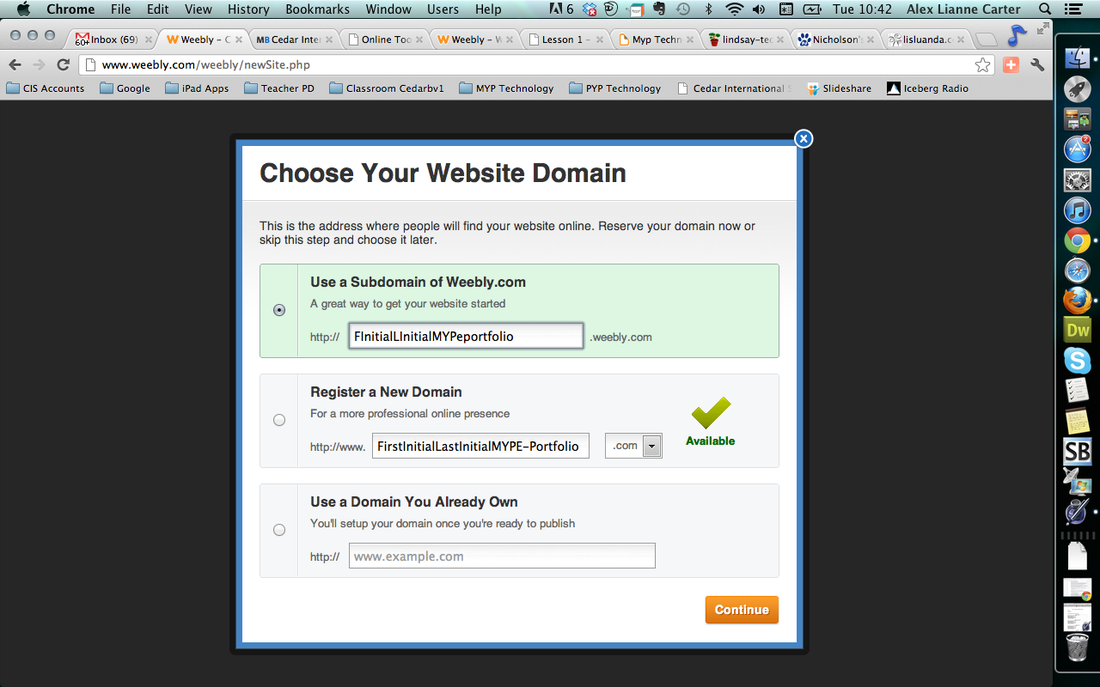
Step 4: Choose your website domain
Choose your website domain
(First Initial)(Last Initial)MYPeportfolio
example: acMYPeportfolio
*If you get an error, that is because your domain name is not available. If this happens please use all your initials ie alcMYPeportfolio
(First Initial)(Last Initial)MYPeportfolio
example: acMYPeportfolio
*If you get an error, that is because your domain name is not available. If this happens please use all your initials ie alcMYPeportfolio
Step 5: Choose your template and personalize your site
Chose your template and then make the site your own. Most sites you can change the image. Add something that represents who you are. When we go to your E-Portfolio, we want to know that it belongs to you!

Step 6: Publish your site
Click publish

Step 7: Share your site with Mrs. Carter
Share your published site with [email protected]
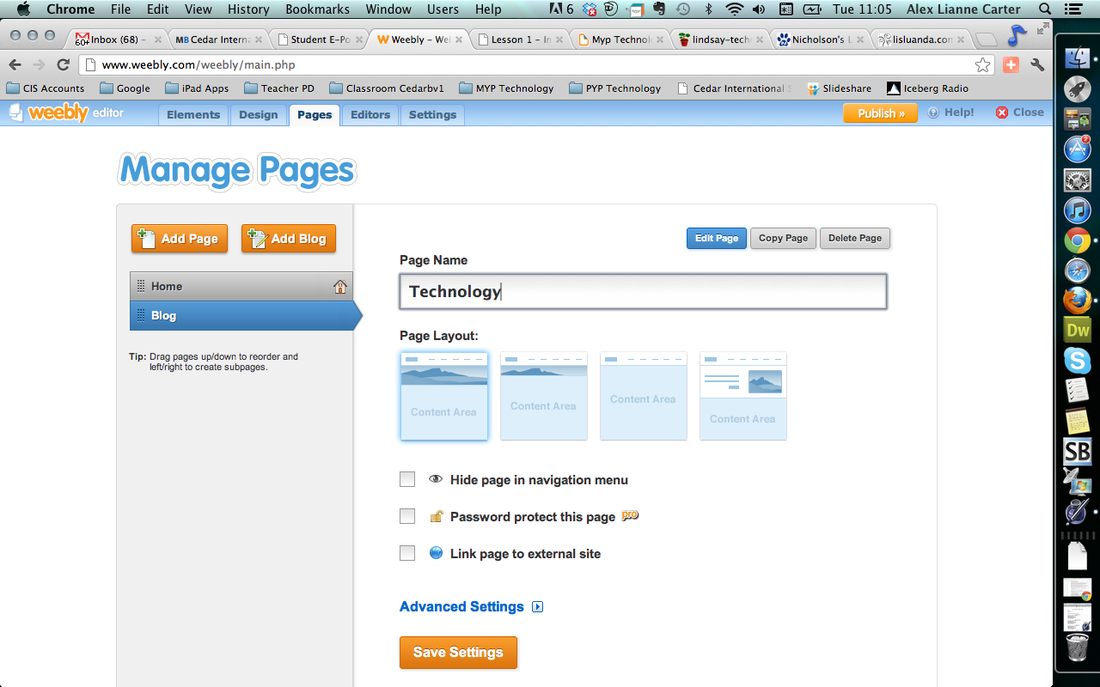
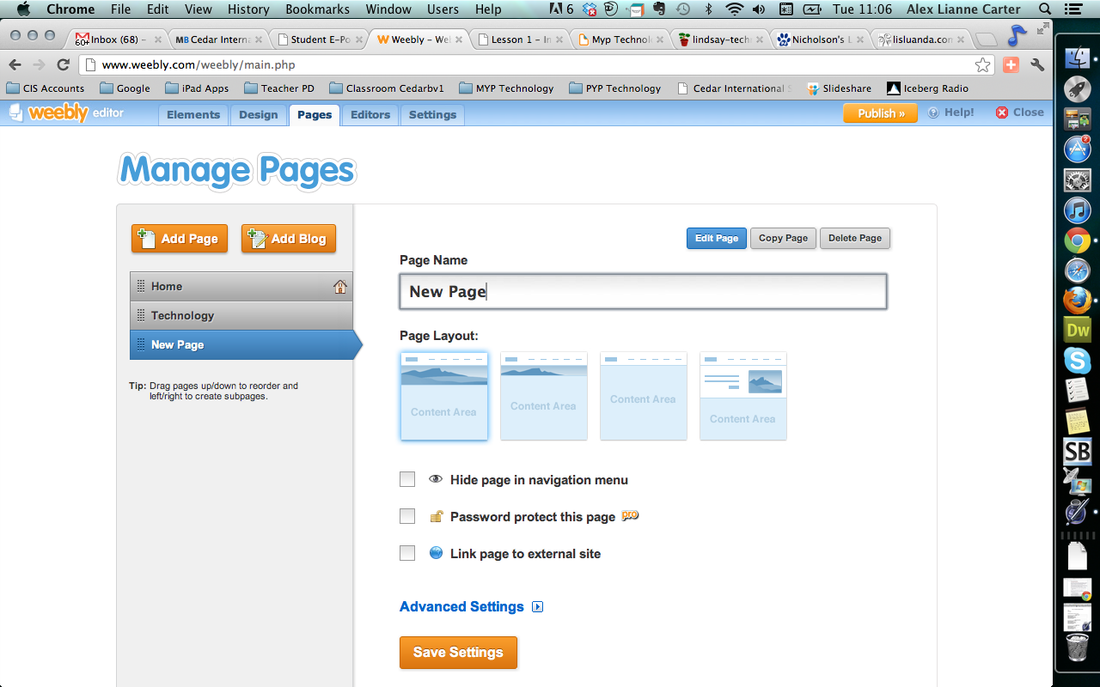
Step 8: Adding "Pages"
Begin adding pages and exploring how to use Weebly to make your E-Portfolio.
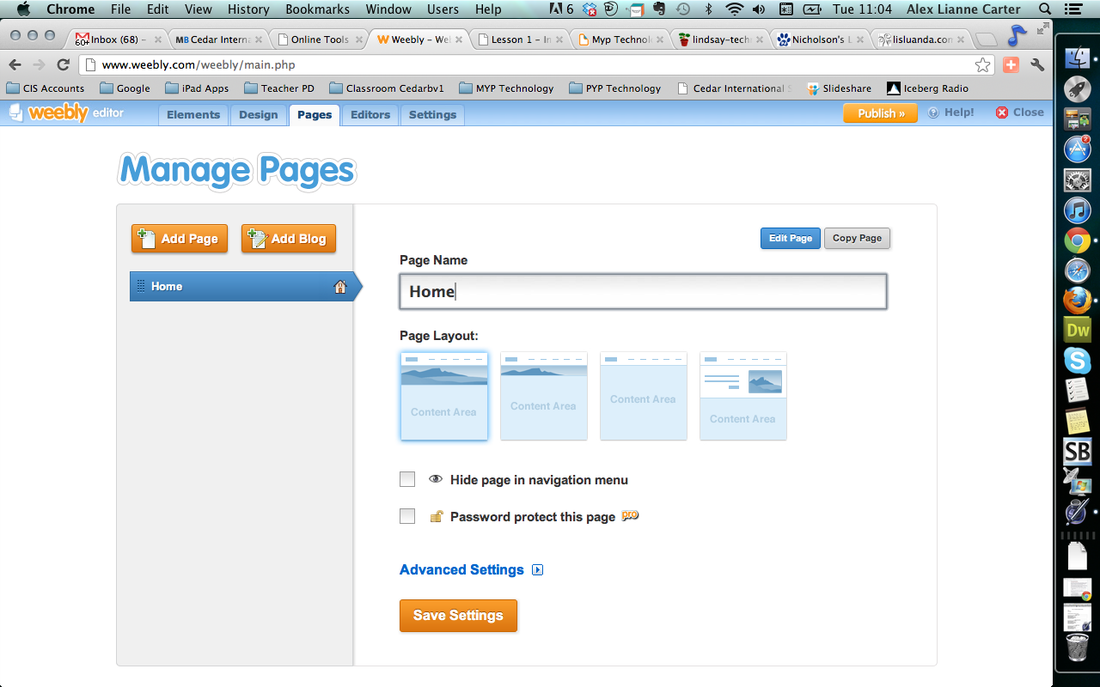
Make sure that for your Computer Technology, you use "Add Blog"
The sections you should have are:
My Web 2.0 Tools (Page):
- Home (Page) Your Introduction
- Title following this example: A.C. MYP E-Portfolio
- Introduction in both English & Spanish (Make sure there are NO spelling mistakes, especially since this is the first page that people will see)
- Your Avatar, remember it needs to be appropriate for IB and future University applications
- An original Design and Layout to your E-Portfolio, unique to you!
- On each page, please embed (using Scribd if need be) ALL summative assignments that you have already completed for each course so far in MYP. Remember NOT TO publish your name. Please use initials for all your work. For categories, indicate for each submission (your grade when you completed the assignment, the Unit, the AOI, Skills developed or learned.)
- Art
- Humanities
- Language A (English)
- Language B (Spanish)
- Life Skills
- Math
- Music
- PE
- Science
- Technology Your Technology Blog, your homebase for your technology course.
This is where you will do all of your work, share your learning, embed video's, etc.
My Web 2.0 Tools (Page):
- Embed Symbaloo Page, this page should include ALL online learning sites that you have been introduced to up to date in all your classes. The sites on this page are educational sites ONLY.
- Highlights of my learning (Blog):
- Google Search Course Certificate
(Categories: Technology, Certificate, Grade 6 or Grade 7) - Please place ALL assignments or work that you are proud of here. You will be sharing this with your parents in May.
- Categories: Your Grade, The Course, What the Assignment is, ie, test, project, quiz, essay, lab report, experiment, music video, etc.
- Please complete these reflection questions and paste above the chosen piece of work.
- Subject:
- Title of Assignment:
- Completed in Grade:
- My learner profile for this activity: Inquirer - Knowledgeable - Thinkers - Communicator - Principled - Open-Minded - Caring - Risk-Takers - Balanced - Reflective.
- AOI: Approaches to learning - Community and Service - Human Ingenuity, Environments, Health and Social Education.
- I chose this piece of work because (explain why you are proud of this piece of work and why you would like to share it in your “Highlights of your learning”:
- CAS Here you will share the activities that you have done as part of your Community and Service throughout MYP.
- Personal Project
- Embed your Personal Project Proposal
- Share images of your event
- Embed the final product
Step 9: Write your "Introduction"
Create your introduction to your Home Page by choosing "Elements" - "Basic" - "Paragraph with Picture" and drag this into the body of your "Home Page"

Introduce yourself in both English and Spanish and any other language you may speak.
Things you CAN include:
- Hi my name A.C.....I go to CIS in the Caribbean
- Your dreams
- Where you would like study
- What you would like to study
- Where you would like to travel
- What you would like to become when you are older
- Goals that you have for MYP
- What you would like to accomplish during this academic year
- Hobbies, likes and dislikes
- etc...
You DO NOT have to include all of these elements in your introduction.
Please have two friends look over your introduction to verify that there are no spelling or grammar mistakes and to make sure that your idea's are organized.
PLEASE ask your Spanish teacher to look over your spelling to make sure that your Spanish is correcte. Remember, we DO NOT want to publish mistakes online.
*Remember to use Initials and NOT your full name!
Step 10: Create your "Avatar"
Use: http://www.faceyourmanga.com/ to create your Avatar to use as the image on your homepage.
Login: cedar
Password: Cedarbv1
1) After logging in, click on CREATE.
2) Once you have finished creating your Avatar, click SAVE.
3) Use your Initials to name your Avatar.
4) Your Avatar will now appear on a new screen next to other Avatars that have been created.
5) Click on your Avatar to open up in another screen.
6) Right click on your Avatar and select "Save Image As"
7) Save your image as "My Avatar" in your pictures folder or on your desktop.
8) Open up your weebly and go to your "Home Page"
9) Next to where you wrote your introduction, there should be a blue box that says "Sample Image .
10) Click on that blue box to add your Avatar image.
11) Click Publish.
12) Now you can "upload" your Avatar image in your profile in Gmail, Managebac and any other accounts you may have.
Step 11: Create your "My Web 2.0 Tools" page
Step 1: Create an account with Symbaloo http://www.symbaloo.com/
Step 2: Check your email and verify your email address, you should have received an email titled "Feedback"
Step 3: Add your username and password to your passwords document.
Step 4: Watch the Youtube video to learn how to create, edit and search:
Step 2: Check your email and verify your email address, you should have received an email titled "Feedback"
Step 3: Add your username and password to your passwords document.
Step 4: Watch the Youtube video to learn how to create, edit and search:
Step 4: Add icons of online tools that you have been introduced to or that you already use. (ie, Animoto, Faceyourmanga, Weebly, etc..)
Step 5: In your Weebly, create a new Page titled "My Web 2.0 Tools"
Step 6: Embed your Symbaloo page on your Web 2.0 Tools page. Watch this video to learn how to share:
Step 5: In your Weebly, create a new Page titled "My Web 2.0 Tools"
Step 6: Embed your Symbaloo page on your Web 2.0 Tools page. Watch this video to learn how to share:
- In symbaloo, top right hand side, click "share" YOU WILL NOT SEE THIS IF YOU HAVE NOT VERIFIED YOUR EMAIL
- Choose privately with friends
- Click the Orange button
- Click embed code
- Copy the embed code (It is the long code)
- Open e-portfolio
- Choose My Web 2.0 Tools tab
- Choose Basic
- Drag custom HTML onto the page
- Paste the embed code
- Publish
- Choose privately with friends
- Click the Orange button
- Click embed code
- Copy the embed code (It is the long code)
- Open e-portfolio
- Choose My Web 2.0 Tools tab
- Choose Basic
- Drag custom HTML onto the page
- Paste the embed code
- Publish
And always remember to "PUBLISH" after making any changes on your site!
Step 12: How to use Scribd to embed your documents in Google Docs
1) Visit http://www.scribd.com/ and create an account with your Cedar email address. Remember to save your login and password in your passwords document. Use your nickname (or create a nickname) for this account.
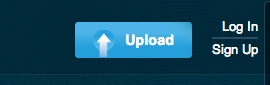
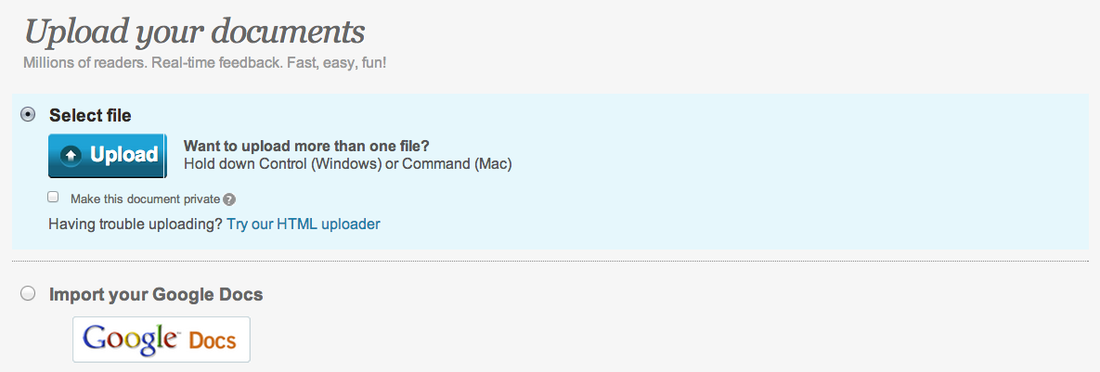
2) Once your signed up and/or logged in, click on the blue Upload button

3) You now have two choices:
#1: Upload a document from your desktop
or
#2: Import from your Google Docs
Make sure you are already logged into your Google Account in another tab and then to import from Google Docs, click the "Import your Google Docs"
#1: Upload a document from your desktop
or
#2: Import from your Google Docs
Make sure you are already logged into your Google Account in another tab and then to import from Google Docs, click the "Import your Google Docs"
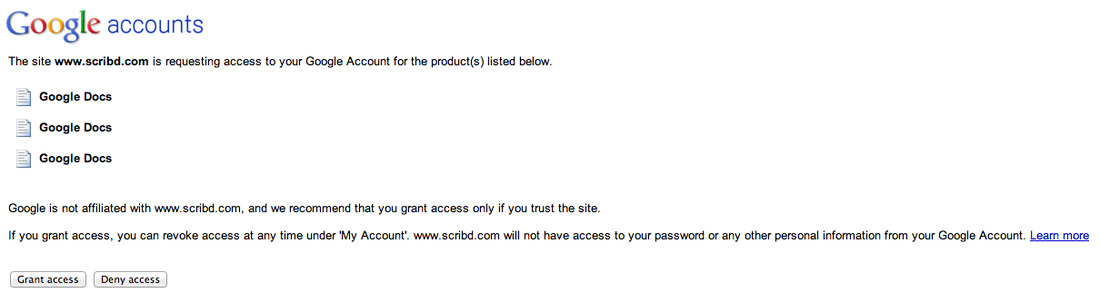
5) Another page will open and you will click "Grant Access"
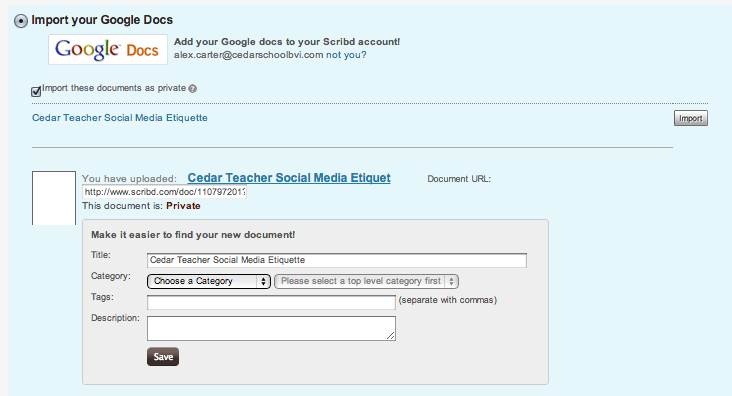
6) Make sure to click the "Import these documents as private" before you select a document to import

7) Now click "Import" to import the document you would like to import

8) Once imported, you will click on the Title of your document that is not in blue.
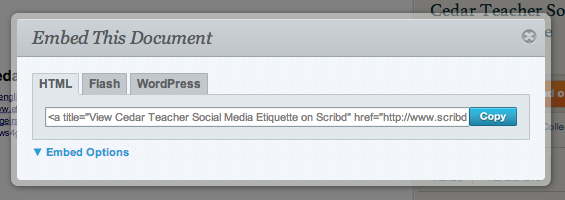
9) Another page will open, before embedding document, please make sure that your document is PRIVATE

10) To embed into your E-Portfolio, click on the "Embed" icon at the top of your page

11) Copy the embed code
12) Create New Post in your blog
13) Drag the Custom HTML into your Blog Post
13) Drag the Custom HTML into your Blog Post
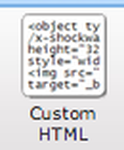
14) And paste the Embed code into your post
15) Don't forget to Publish
15) Don't forget to Publish
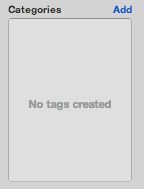
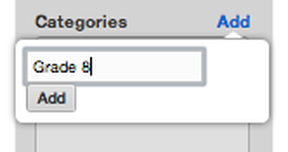
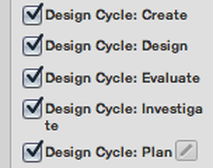
Step 13: Categories for your blog posts
To create categories click on the blue Add button. Type in the name of your category and then click on the grey add button. Follow these steps to add all of your categories.
|
|
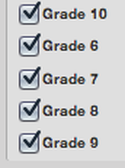
Make sure to create categories for all your MYP grades, all the steps of the Design Cycle and all the AOI's (Feel free to make other categories, however, these are mandatory)
|
|

|
Next time you make a new blog post, you just need to select the corresponding categories and the publish live
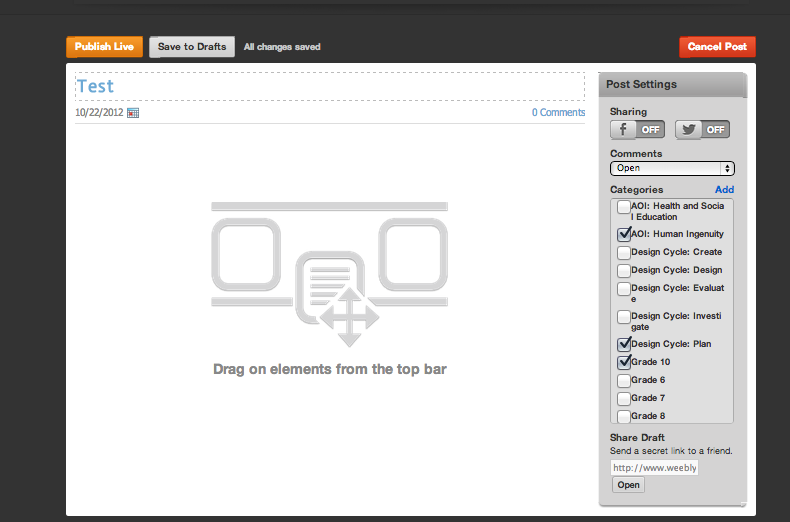
Once your blog post has been published, you will see the Categories on the side of your blog page

